


How to Remove Subtitles from a Video: 4 Practical Options
Learn when to cover, crop, clean up, or replace visible subtitles in a product video, then review a translated version before ecommerce reuse.
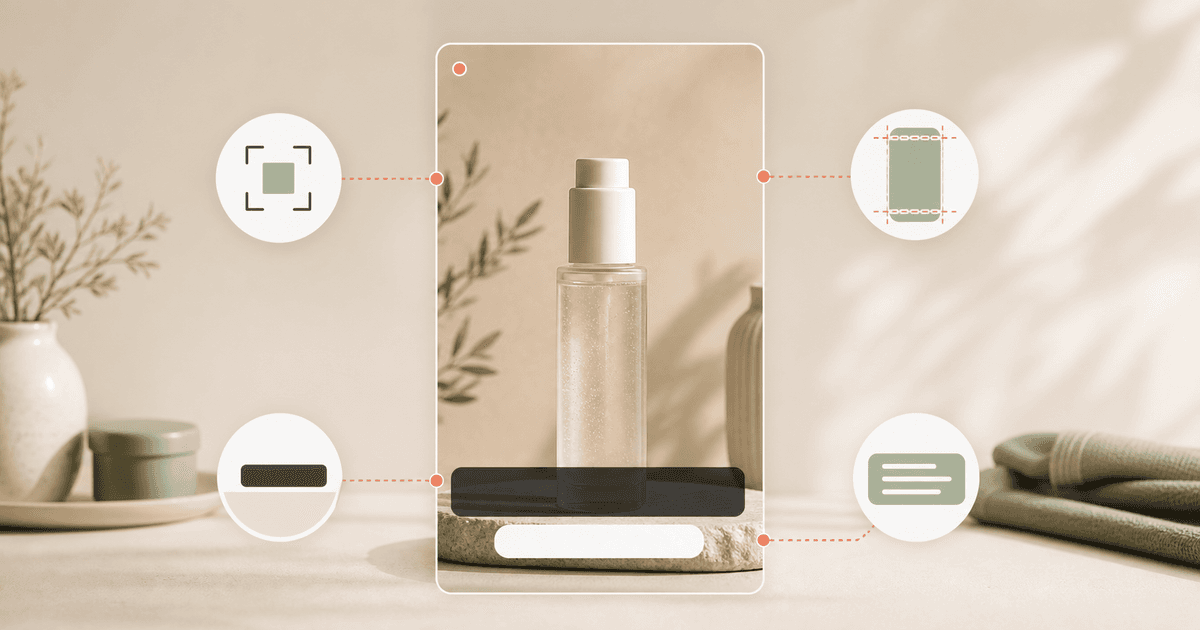
If you need to remove subtitles from a video, start with the result you need rather than the editing method. A subtitle band can be covered, cropped out, cleaned up in the right scenes, or replaced with a new-language version. The useful option depends on where the words sit and what the video must do next.
For a product video, the main constraint is simple: do not solve the subtitle problem by hiding the product, packaging, price, hands, or the demonstration itself. This guide helps you make that choice without turning the job into an editor tutorial. It ends with a review checklist for a listing, product page, ad, or short.
Subtitle Localization for product videos
Key Takeaways
- Choose the treatment based on what the subtitle area covers and what the finished video needs to do next.
- Covering and reframing work only when important product details remain visible.
- Visual cleanup needs a close preview when the area is busy, moving, or full of detail.
- For a new market, replacing old subtitles with translated subtitles can be more useful than leaving an empty area.
Before you choose: protect the product information
Pause on the part of the frame where the visible words appear. The best option is the one that leaves the information a shopper needs intact.
Check whether the subtitle area overlaps any of these details:
- The product itself, its label, or its packaging
- A price, size, offer, or other on-screen selling detail
- A hand using the product
- The action that explains how the product works
- A detail that makes the shot understandable
Words already visible in the picture are part of the composition. That means a change that looks tidy in an editing window can still make the video less useful once it appears in a narrow listing card or a vertical ad placement. Keep one representative frame handy while you decide, then preview the chosen treatment where shoppers will actually see it.
Step 1: Pick the outcome you need
The easiest way to remove subtitles from a video is to choose the outcome first. You do not need one method for every shot.
| If you need to... | Practical option | First trade-off to check |
|---|---|---|
| Reuse the clip quickly | Cover the subtitle area | Will the cover hide a label, hand, price, or key action? |
| Keep the product visible in a tighter composition | Crop or reframe | Does the new frame still make sense at the intended placement? |
| Keep the existing composition | Test visual cleanup | Is the subtitle area simple and reasonably consistent enough to inspect closely? |
| Reuse the video in another market | Replace old subtitles | Can the new language remain clear while the product stays visible? |
This table is deliberately practical. A cover makes the old words less prominent, but it changes the design. A crop removes part of the picture. Cleanup can be worth testing, but it deserves a close preview. Replacement has a different goal: it prepares the visible language for a new audience.
Choose the option that protects the message of the product video, not just the empty space around the words.
Step 2: Cover the subtitle area when the layout allows it
Covering subtitles in a video is often the most direct visual option when the lower part of the shot is expendable. Instead of trying to make the treatment disappear, make it look intentional.
A simple subtitle band, a block that matches the background, or a revised lower-third can give the old words a quieter place in the frame. This can work well when the original words sit in a clear edge area and the video still communicates without that strip of picture.
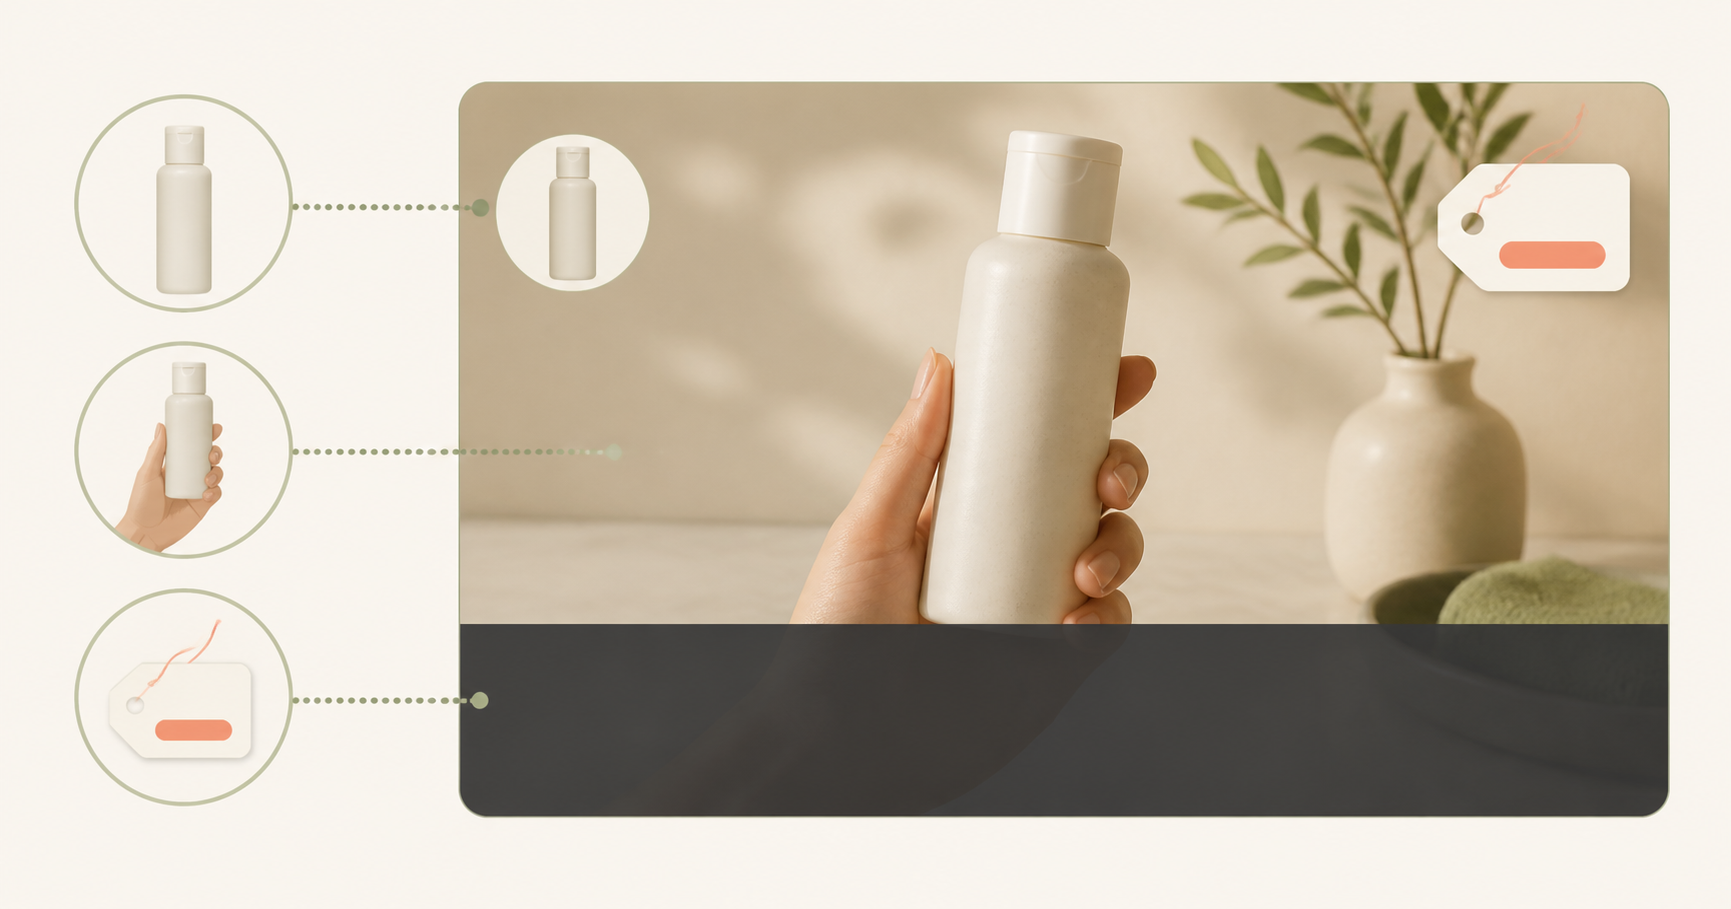
Use three checks before you keep a cover:
- Confirm that it does not cover product labels, packaging, price details, or a hand showing how the product is used.
- Preview the video at the approximate size of the listing, ad, or short where it will appear.
- Reject the treatment if it looks like an accidental block rather than part of the visual layout.
A cover is a poor fit when the subtitle area contains the reason a shopper should watch the shot. If a product label sits at the bottom, for example, hiding the words may also hide the product information. In that case, try a reframe or another route instead of forcing the cover to work.
Step 3: Crop or reframe when the subtitles sit near an edge
Cropping can be a good way to crop subtitles from video when the words sit close to an edge and the important part of the shot has room to breathe. The trade-off is straightforward: you remove part of the picture, so the new composition has to earn that loss.

Work from one representative frame first:
- Compare the original frame with a tighter version that excludes the subtitle area.
- Check that the product, its use, and any key visual detail are still easy to see.
- Preview the composition in the orientation you plan to use, such as a product page card or a vertical short.
The new frame does not need to preserve every bit of the original shot. It needs to keep the viewer's attention on the product and the demonstration. A small crop at the bottom can be enough when the subtitle band is isolated. A heavy crop is less useful when it turns a product demonstration into a close-up with no context.
If reframing makes the product feel cramped or removes the action, do not keep narrowing the frame. Move to a cover, a short cleanup test, or a translated replacement depending on what the video needs to do next.
Step 4: Test visual cleanup before you commit to it
Visual cleanup is worth a short test when the words stay in a similar place and the background behind them is relatively simple. In plain language, this means the subtitle area should not constantly compete with product details, fast movement, or changing scenery.
This is the option people often mean when they ask how to remove hardcoded subtitles from a video. Here, “hardcoded” simply means words already visible as part of the picture. It does not mean every shot will respond the same way.
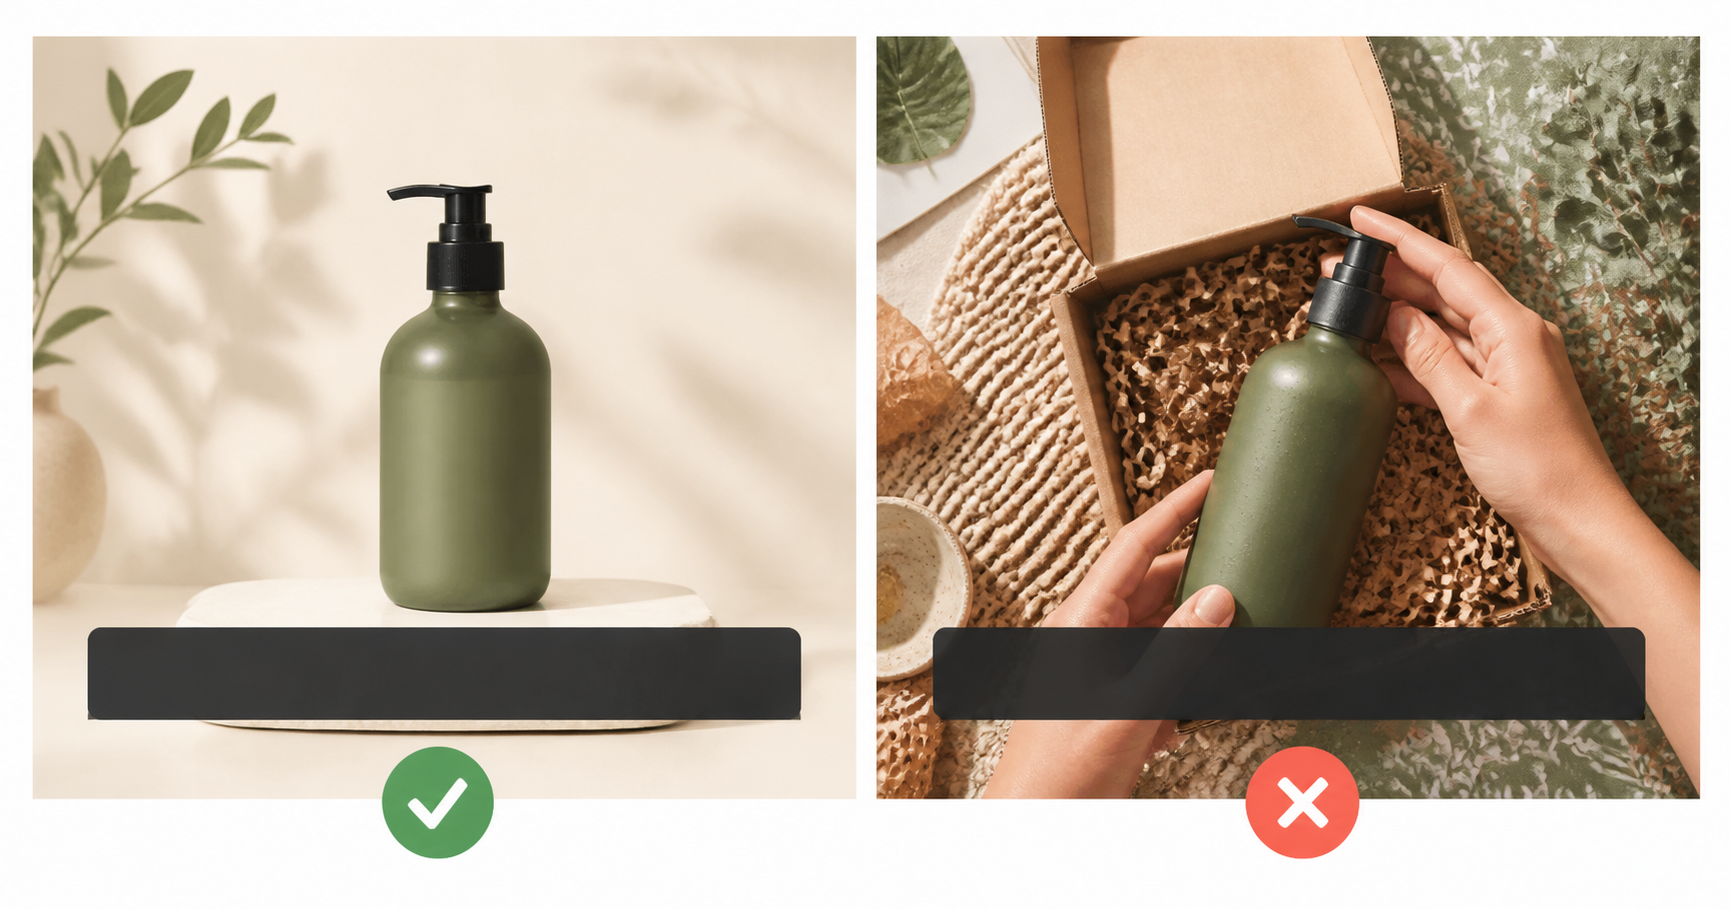
Test a short, representative part of the video before making the option your plan:
- Pick a moment that includes the usual subtitle area, not an unusually easy frame.
- Watch for changes in the background, motion, product details, faces, and the edges around the old words.
- Review the result at normal viewing size as well as close up.
- Choose another option if the changed area becomes distracting or obscures information a shopper needs.
Simple, steady scenes give you a clearer basis for review. A busy product demonstration may need a different outcome, especially when the old words cross packaging, hands, or a moving background. The goal is not to force one treatment across every scene. It is to keep the video understandable.
Step 5: Replace old subtitles when you need a new-language version
If the video is headed to another market, a blank subtitle area is not always the most useful finish. Replacing visible source subtitles with translated subtitles can preserve the role that on-screen language played in the original clip while preparing the video for a new audience.
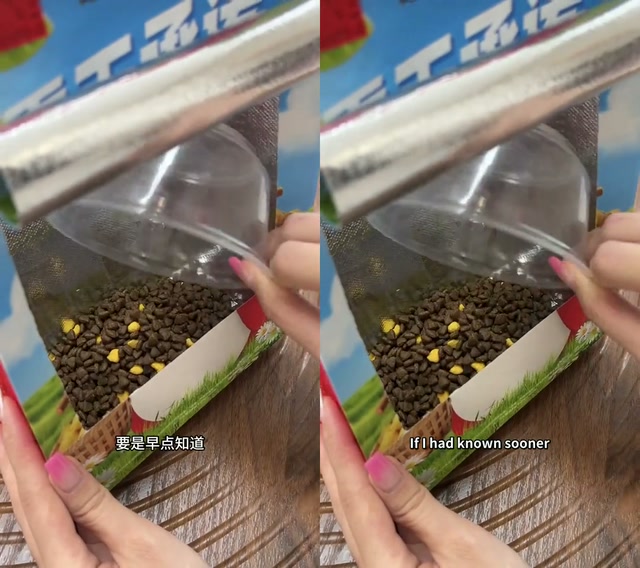
For a suitable short product video, LumoCut Subtitle Localization offers a connected workflow: process the source subtitle layer where possible, render translated subtitles, mute the original audio, and export an MP4. That makes it an option when the outcome is a translated subtitle version rather than removal alone.
Use this route with clear fit boundaries in mind:
- Start with a short product video whose subtitle position is reasonably stable.
- Make sure the background around the words is manageable and the product is already clear in the source.
- Choose the target language and review the new subtitle version for readability and remaining source words.
- Treat the exported video as something to preview for its destination, not as an automatic approval for every placement.
This is not a dubbing, voiceover, lip-sync, SRT-editing, watermark-removal, logo-removal, or general object-removal workflow. It is a focused way to prepare visible subtitle translation for product-video reuse. If the subtitle area moves across important details or the frame is too busy, return to the decision table and consider a different treatment for that clip.
translate product videos for ecommerce listings
see subtitle-localization examples
Step 6: Review the result where shoppers will see it
Before reuse, review the changed video in the context that matters. A file can look reasonable on its own and still need a second look in the layout where customers will encounter it.
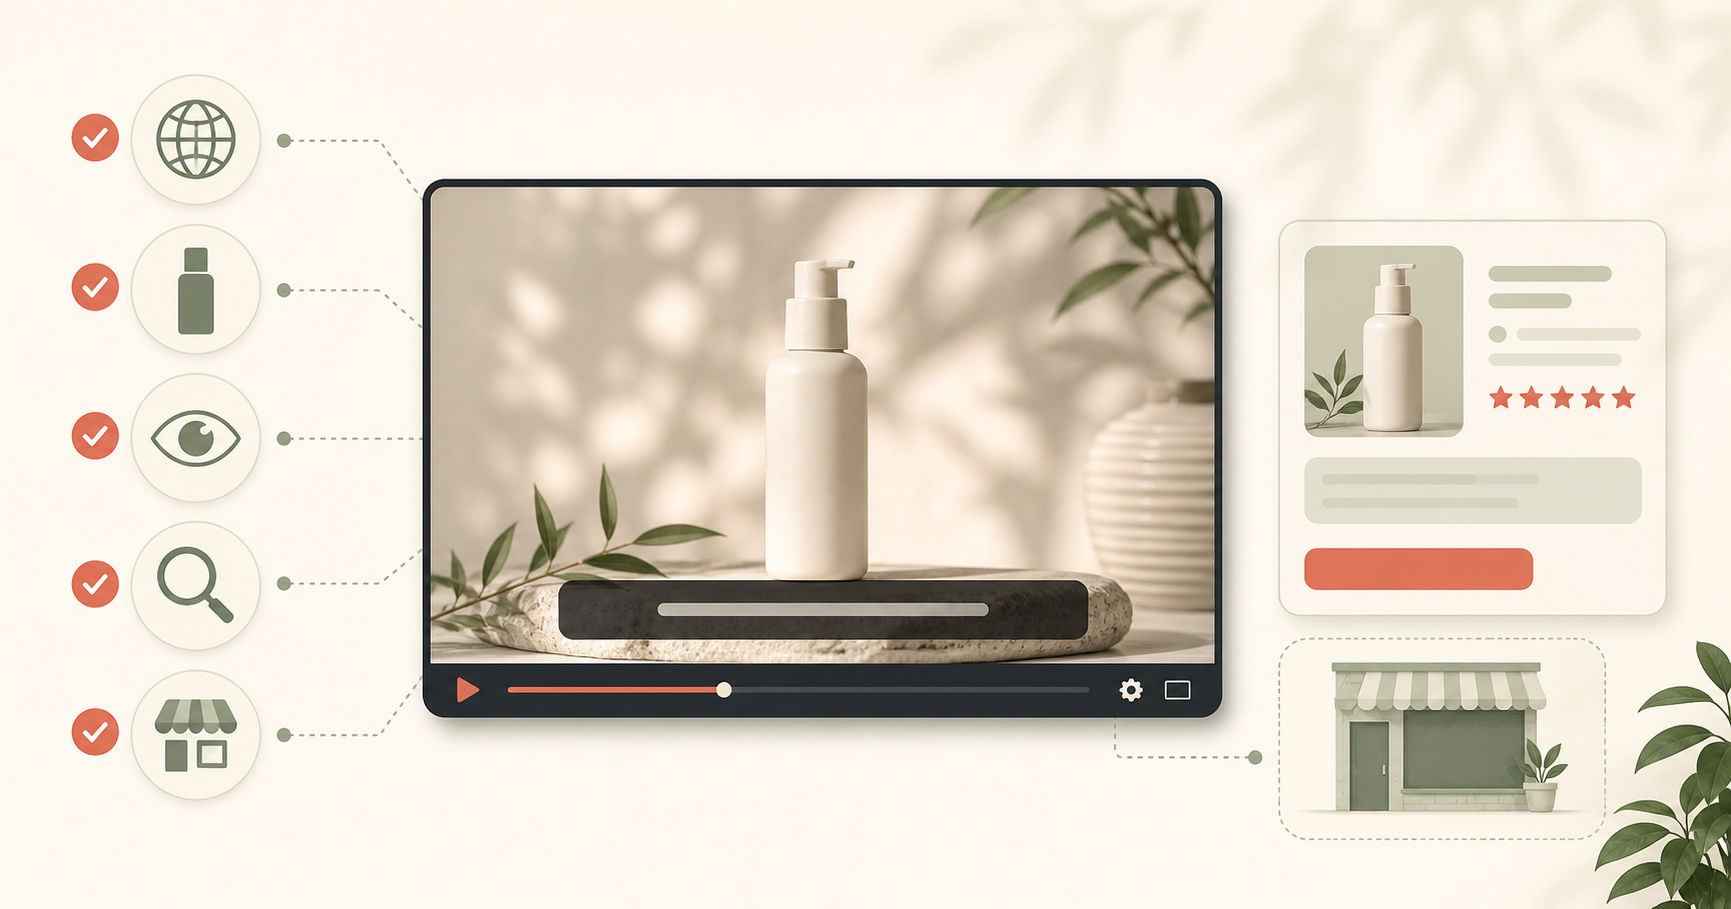
Use this five-point check:
- Target language: Does the visible language match the audience you are preparing for?
- Product details: Are the product name, packaging, price, and demonstration still understandable?
- Readability: Can a viewer read the new subtitle area at the expected display size?
- Remaining source words: Do any old words still pull attention away from the message?
- Destination placement: Does the framing work on the product page, listing, ad, or short where you intend to use it?
Check destination rules and layouts at the destination itself. Requirements and available space can differ, and the practical question is whether this particular treatment still supports the product in that setting.
Common mistakes to avoid
Hiding useful product information. A cover or crop can remove the very label, price, hand, or demonstration detail the video needs. Check the subtitle area before choosing the method.
Treating every visible word as a subtitle. Packaging, product labels, and app screens may be part of the product story. They need a different workflow from source subtitles.
Expecting a new voice. A translated subtitle version changes visible language. It does not create dubbing or audio translation.
Skipping the destination preview. A changed frame can look fine in isolation and still feel cramped, hard to read, or incomplete in its final placement.
Frequently asked questions
Can I remove subtitles without cropping the video?
Sometimes. A deliberate cover, a short visual-cleanup test, or a translated replacement can be a better fit than a crop. Choose based on what sits behind the subtitle area and what the video must do next, then preview the result in its intended placement.
What if the subtitles cover important product details?
Avoid a cover or crop that hides those details. If the visible words overlap the label, packaging, price, hand, or demonstration, choose another option or work from a source video with a clearer subtitle area. The product information is more important than forcing one treatment to fit.
Can I add translated subtitles after handling the old ones?
Yes. That is the useful outcome when a short product video needs to serve another market. Keep the review focused on the target language, product details, readable new subtitles, and any source words that remain visible. It is not a promise that every visible word can be changed.
Does subtitle removal also remove watermarks or logos?
No. This guide covers visible source subtitles in product videos. It does not cover watermark removal, logo removal, or general object removal.
Choose the option that protects the product
To remove visible subtitles from a video, first protect the information that helps a shopper understand the product. Cover the area when the layout can support it, reframe when the edge of the shot has room to spare, test cleanup when the background is simple, or use translated replacement when the next job is a new-language version.
The final preview is part of the work. Check the result in the place where shoppers will see it, then keep the treatment that leaves the product clear and the message easy to follow.
Try translating the subtitles in a video you already have
Start for free